

Before you export
Complete these four tasks before you export. An admin only needs to do the first one once for each configuration.Build the configuration from your DDS standards
An admin builds the configuration from your standards file and your owner list, under Settings → Configurations → New configuration → From DDS standards. The standards fill the pick list. Framings, conductors, equipment and anchors are read only, so every part you choose is one that DDS has.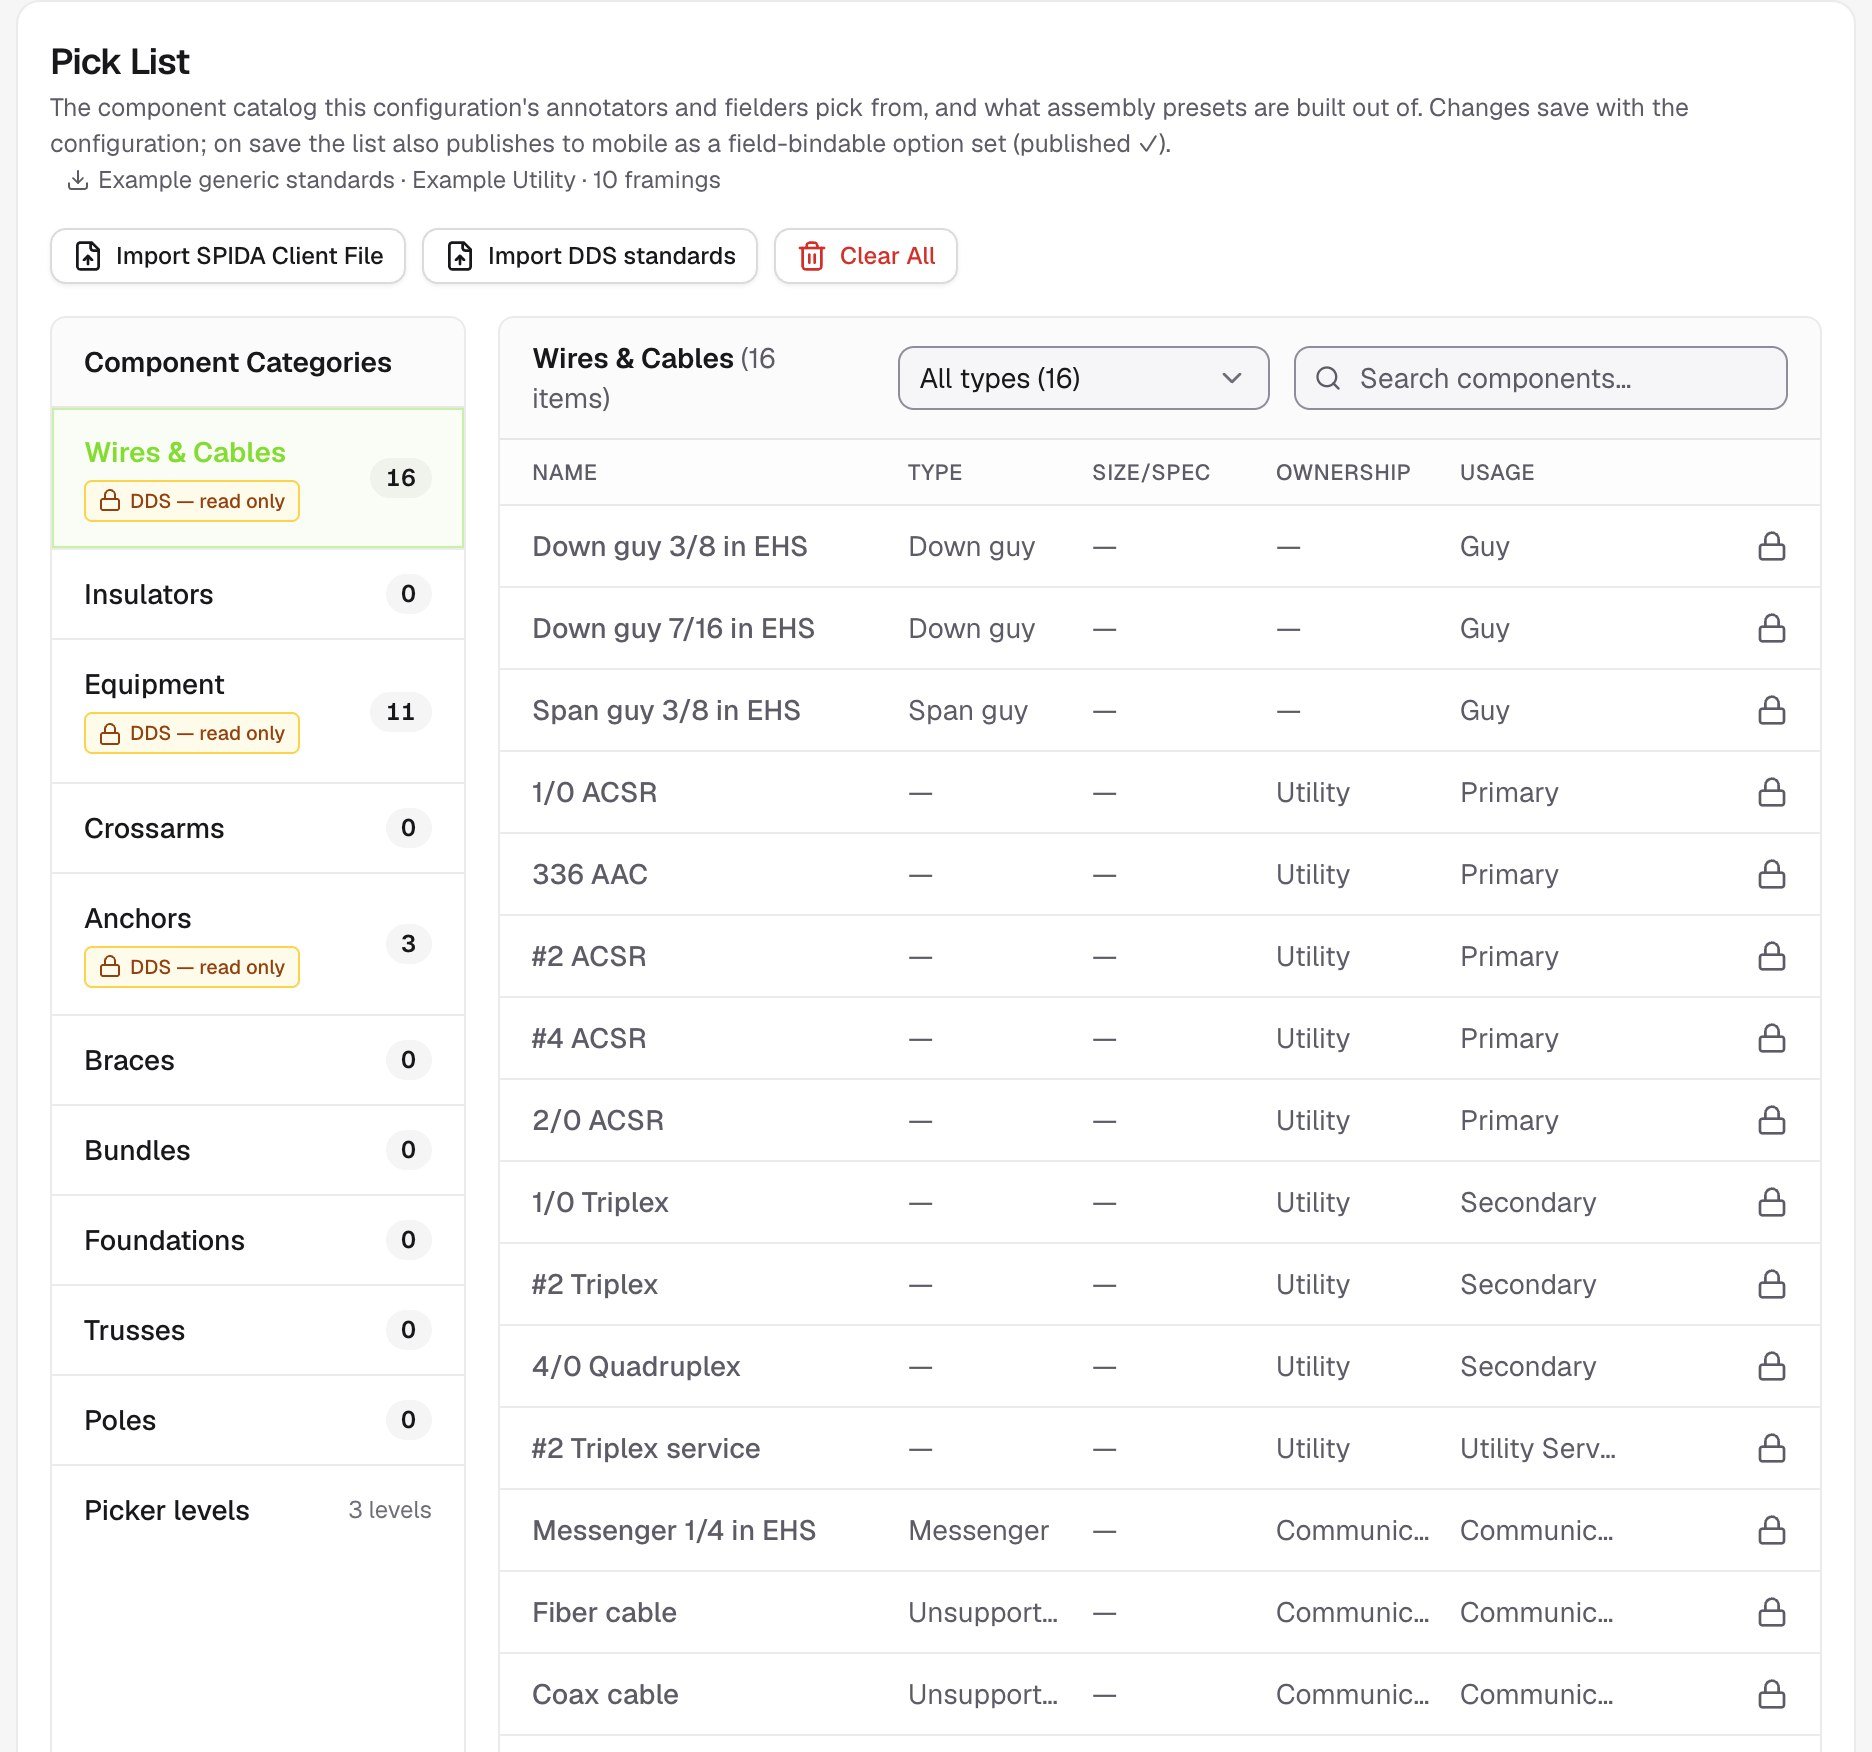
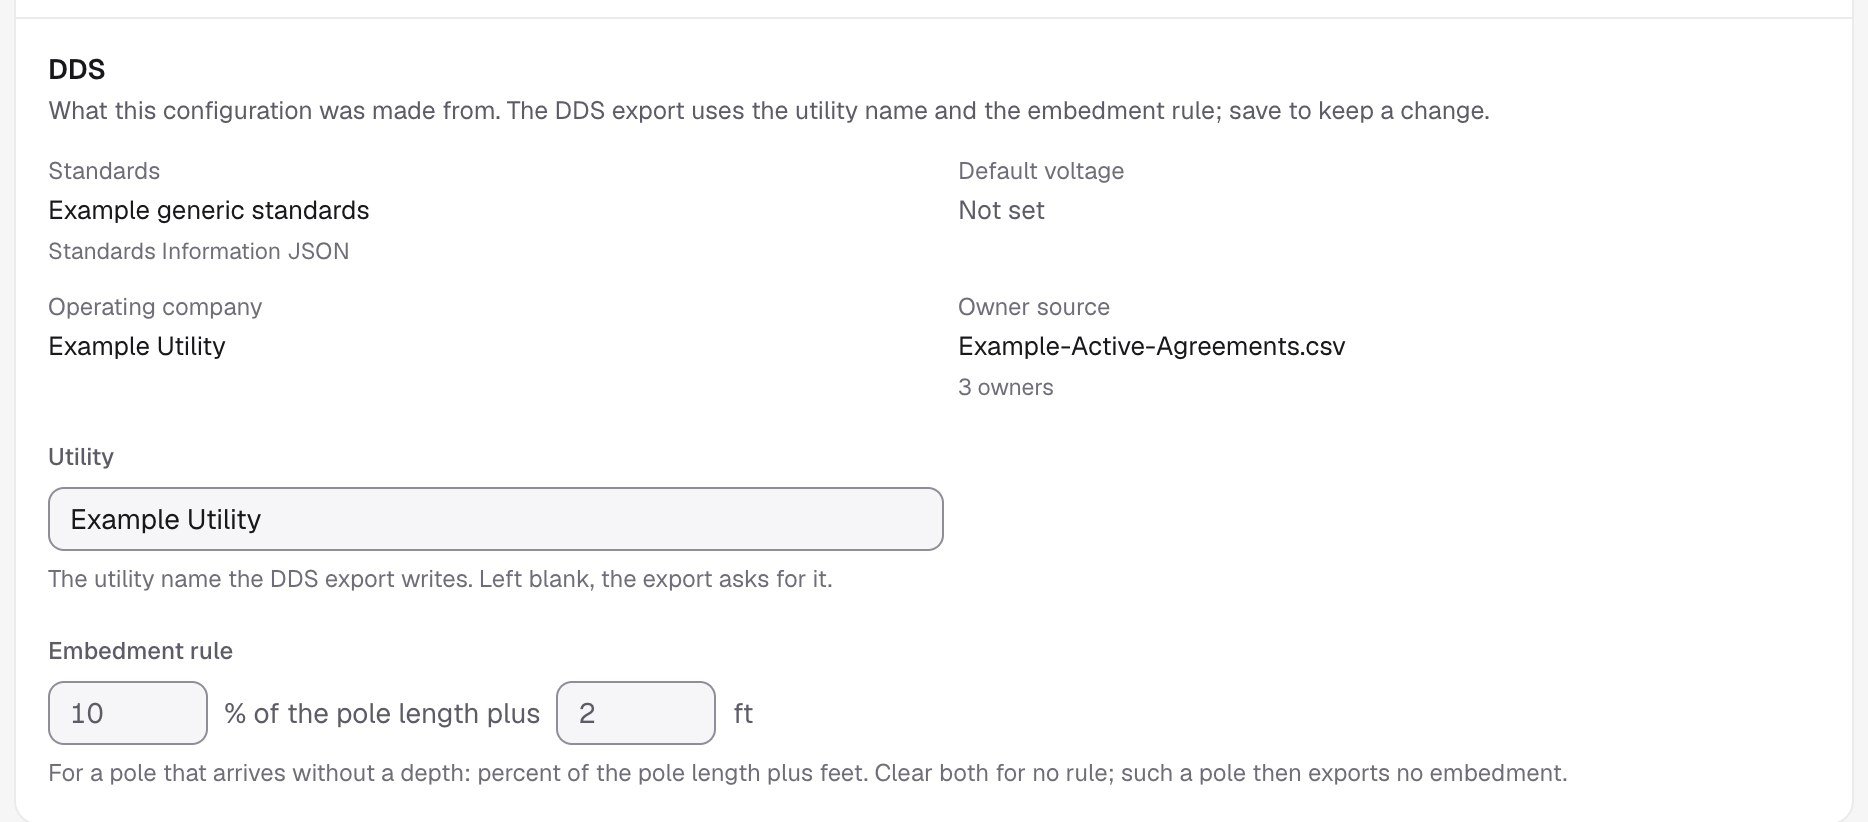
Set the standard and owner for each pole
- On the map, open a pole.
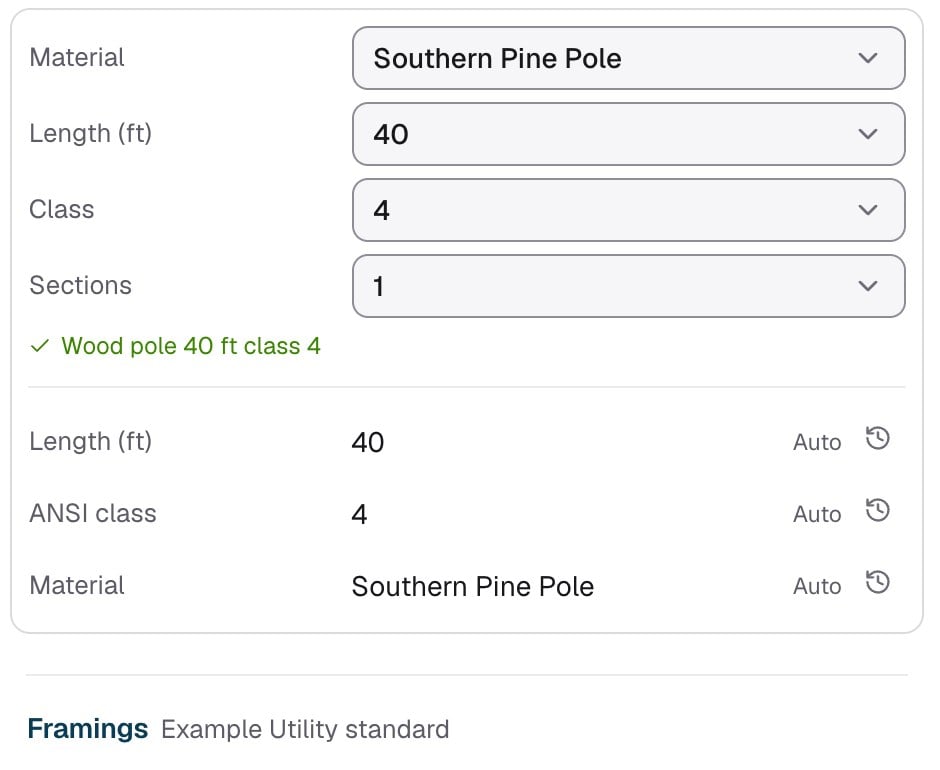
- Set its Material, Length and Class. Cloneable finds the matching pole in your standards and shows a green check.
- Set its Construction status and Pole owner. The pole’s status only reaches DDS if you choose Follow the pole’s status when you export.
Set the owner for each part
In Cable Tracing, each part’s card has an Owner field. On a framing’s card, it’s at the top. Choose an owner from the list, which contains the owners from your owner list plus Unknown. Cloneable can’t send an owner to DDS if it isn’t on that list.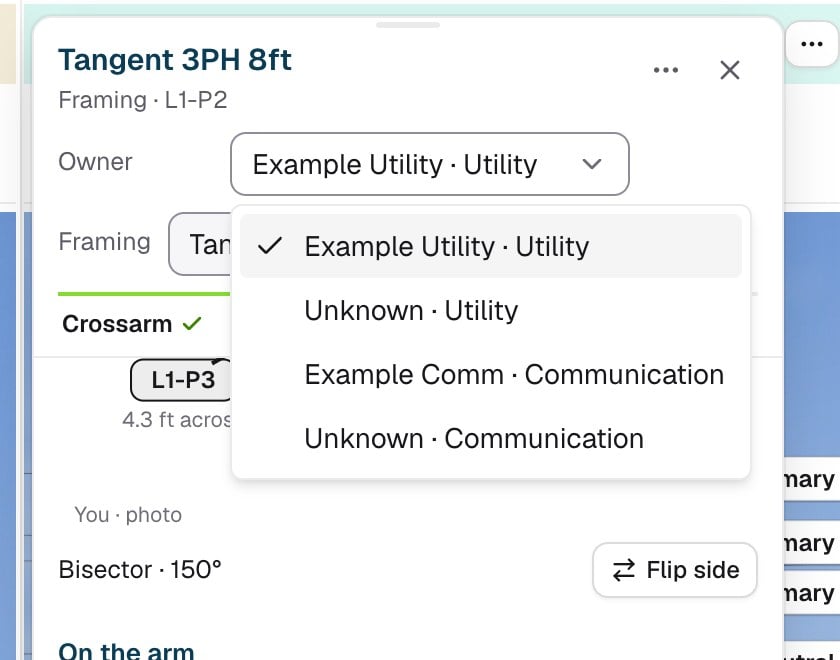
Set the construction status for each wire
Every wire on a card has a Status row with three choices: Existing, Install and Remove. The status stays Existing until you change it, so set Install or Remove on each wire that’s being installed or removed.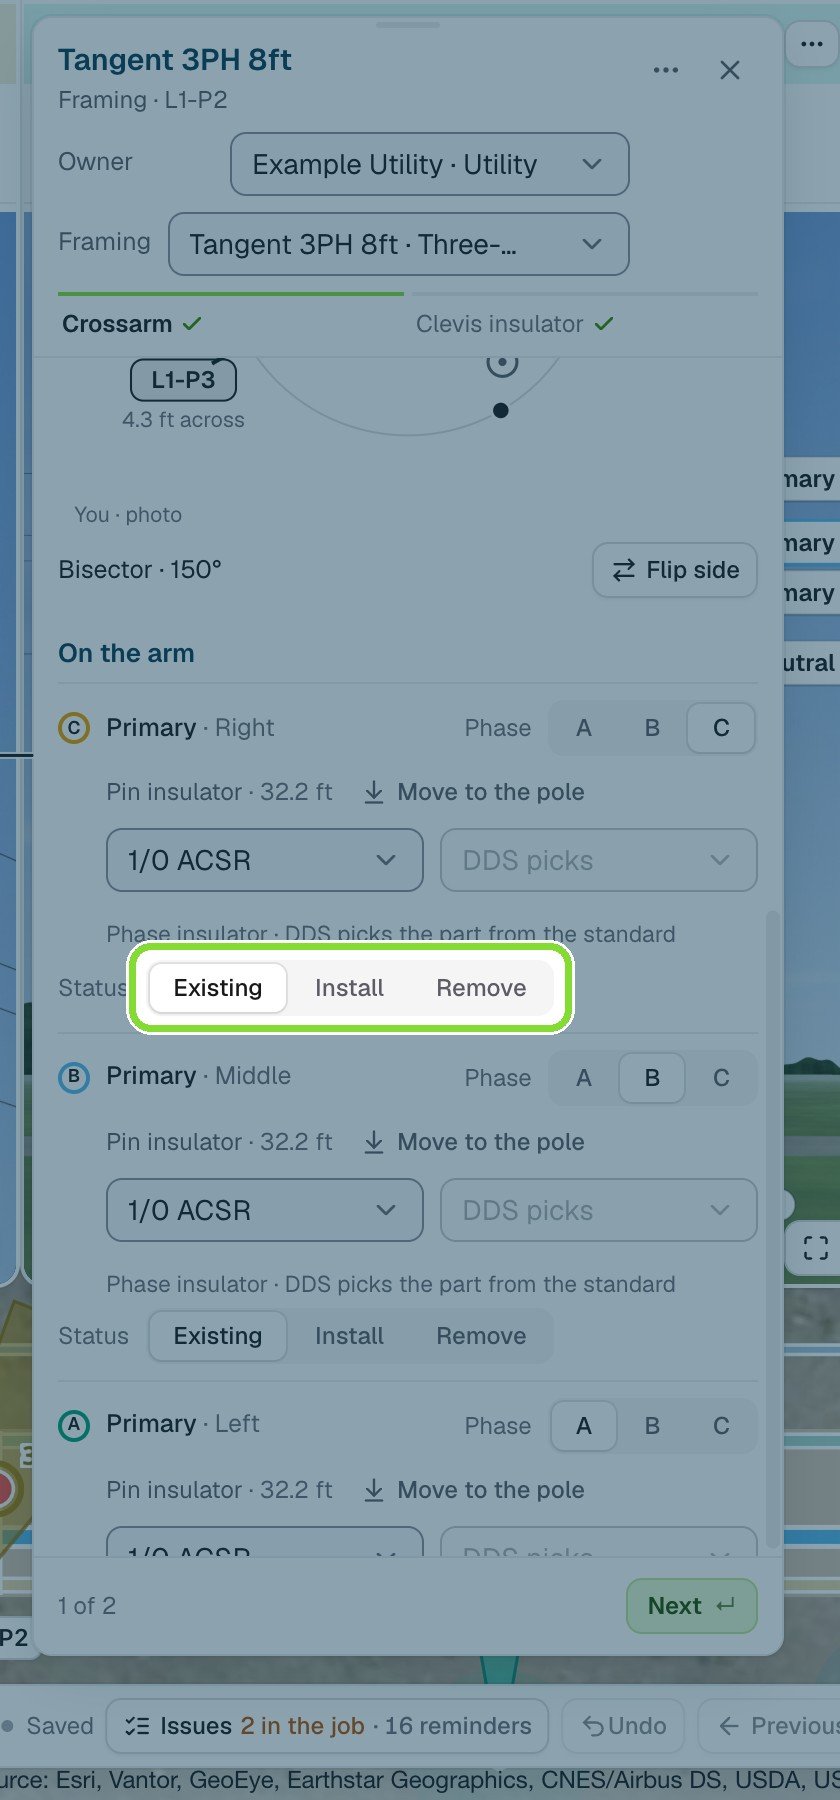
- The status belongs to the whole wire. If you set it at one pole, it applies on every span the wire runs.
- A wire lashed to a messenger takes the messenger’s status in the DDS file, even if you give the lashed wire its own status on the card.
Export the job
1
Open the DDS export
Leave Cable Tracing. In the map toolbar, click Export data, and then click Export to DDS.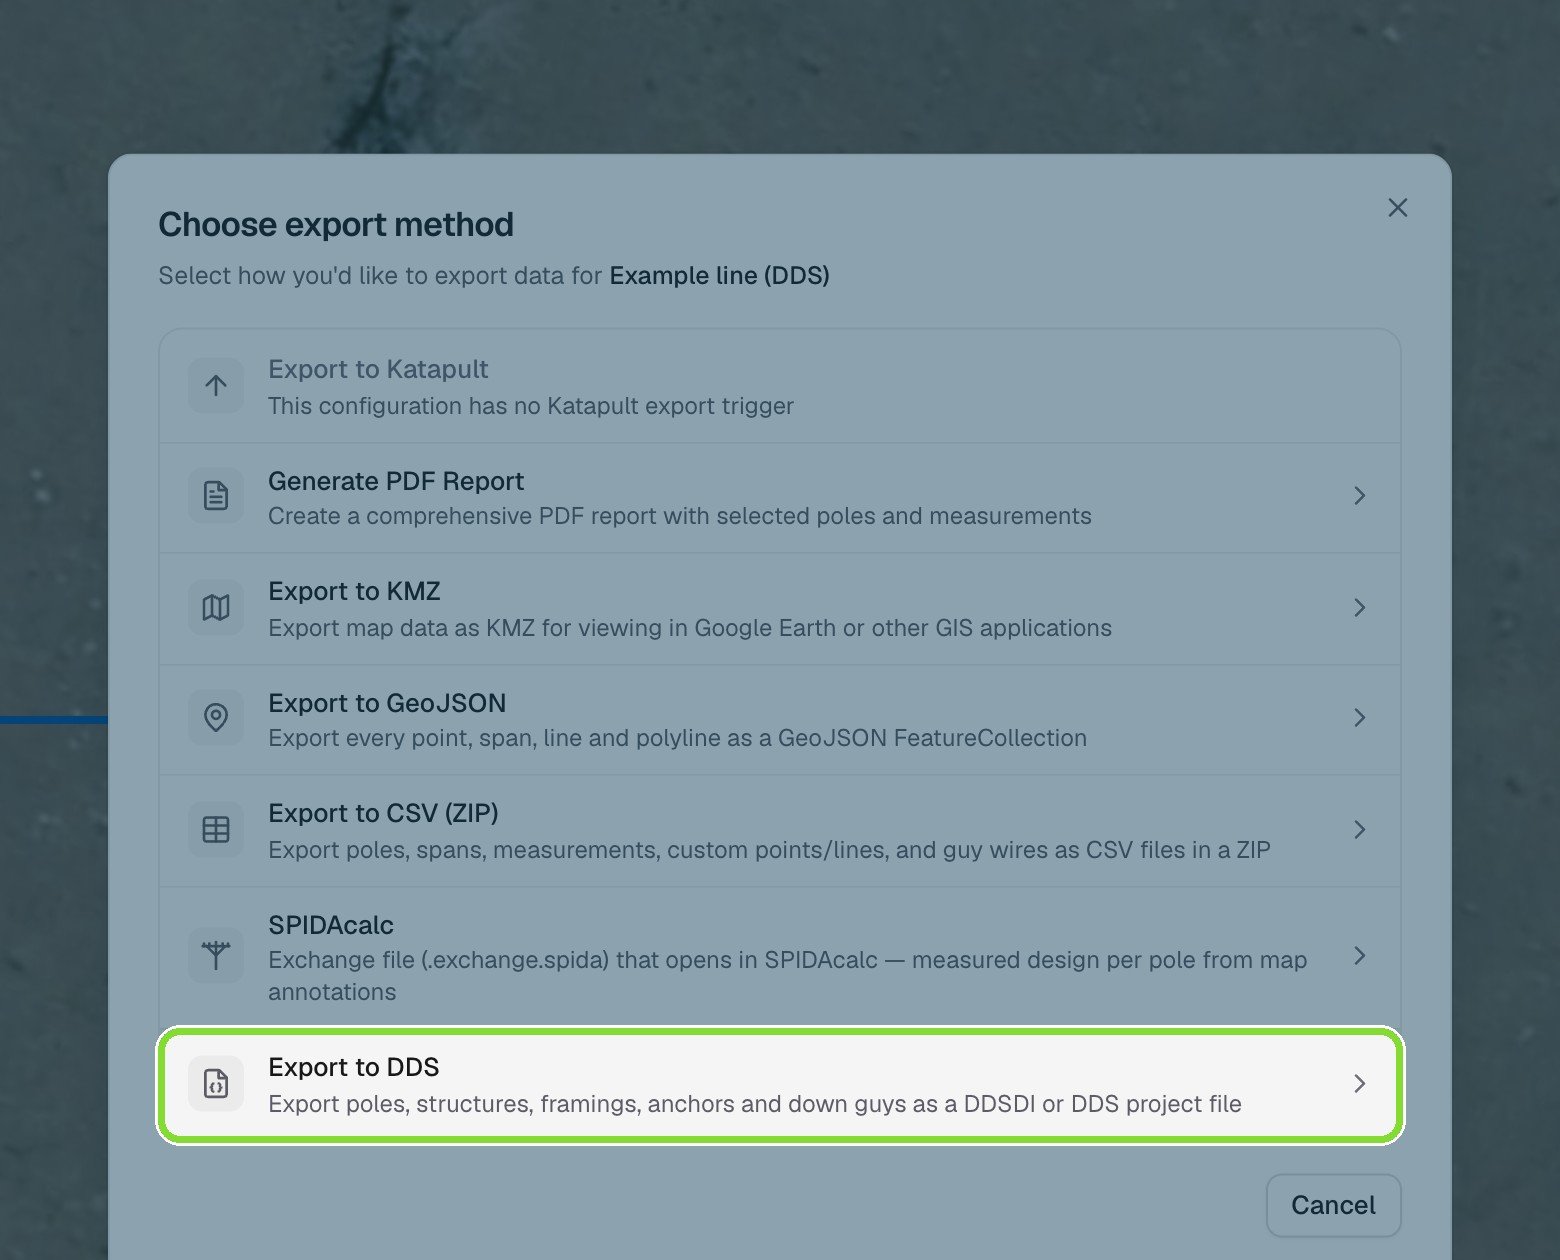
2
Choose the status and names
Set the options in the dialog: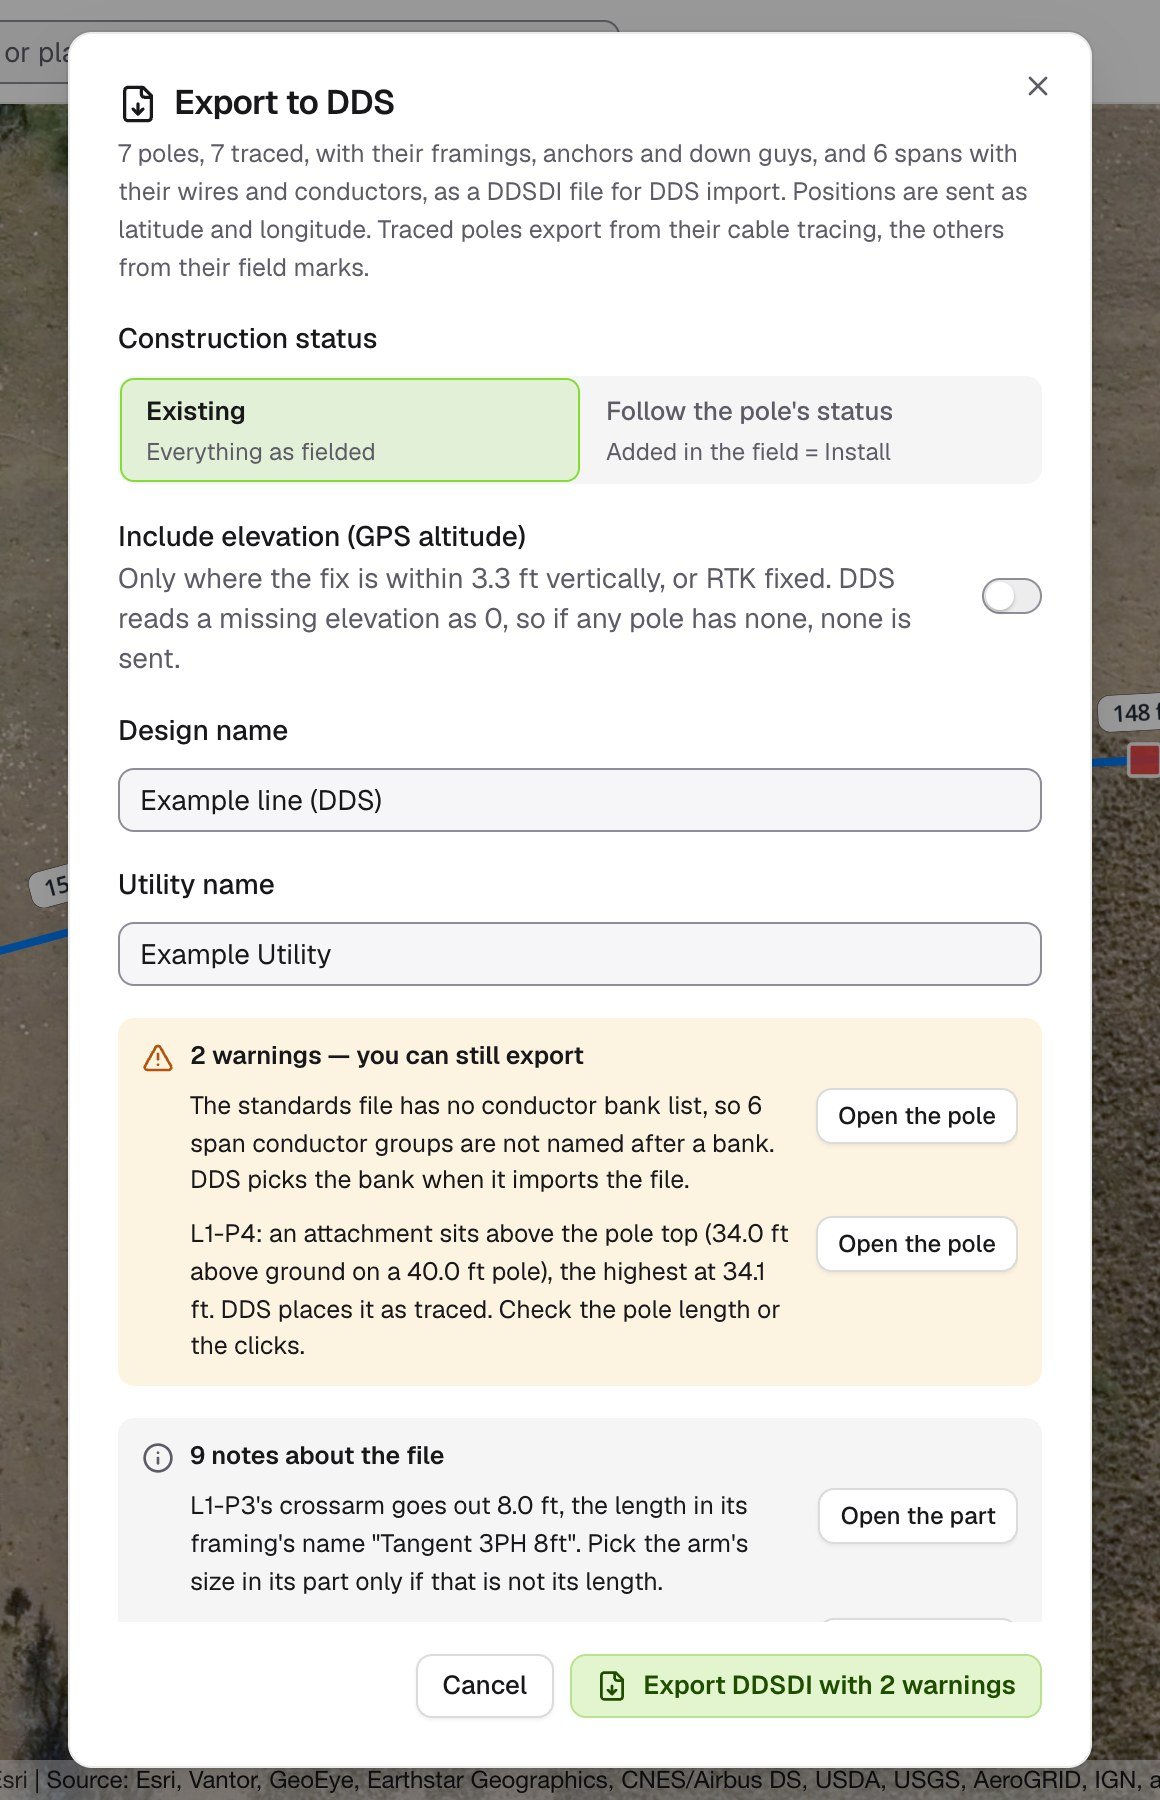
For Construction status, choose one of these:
- Existing is the default. Every pole, framing and piece of equipment is marked Existing, even if a pole has another status.
- Follow the pole’s status marks each pole and its parts with the pole’s Construction status. Use it when pole statuses should carry into the design. A pole with no status is marked Existing if it came from the DDS design, and Install if it was added in the field.
3
Read the checks
The dialog lists warnings, notes about the file, and anything under Not in this export. None of these stop the export. To go to the pole or part for a row, click Open the pole or Open the part on that row.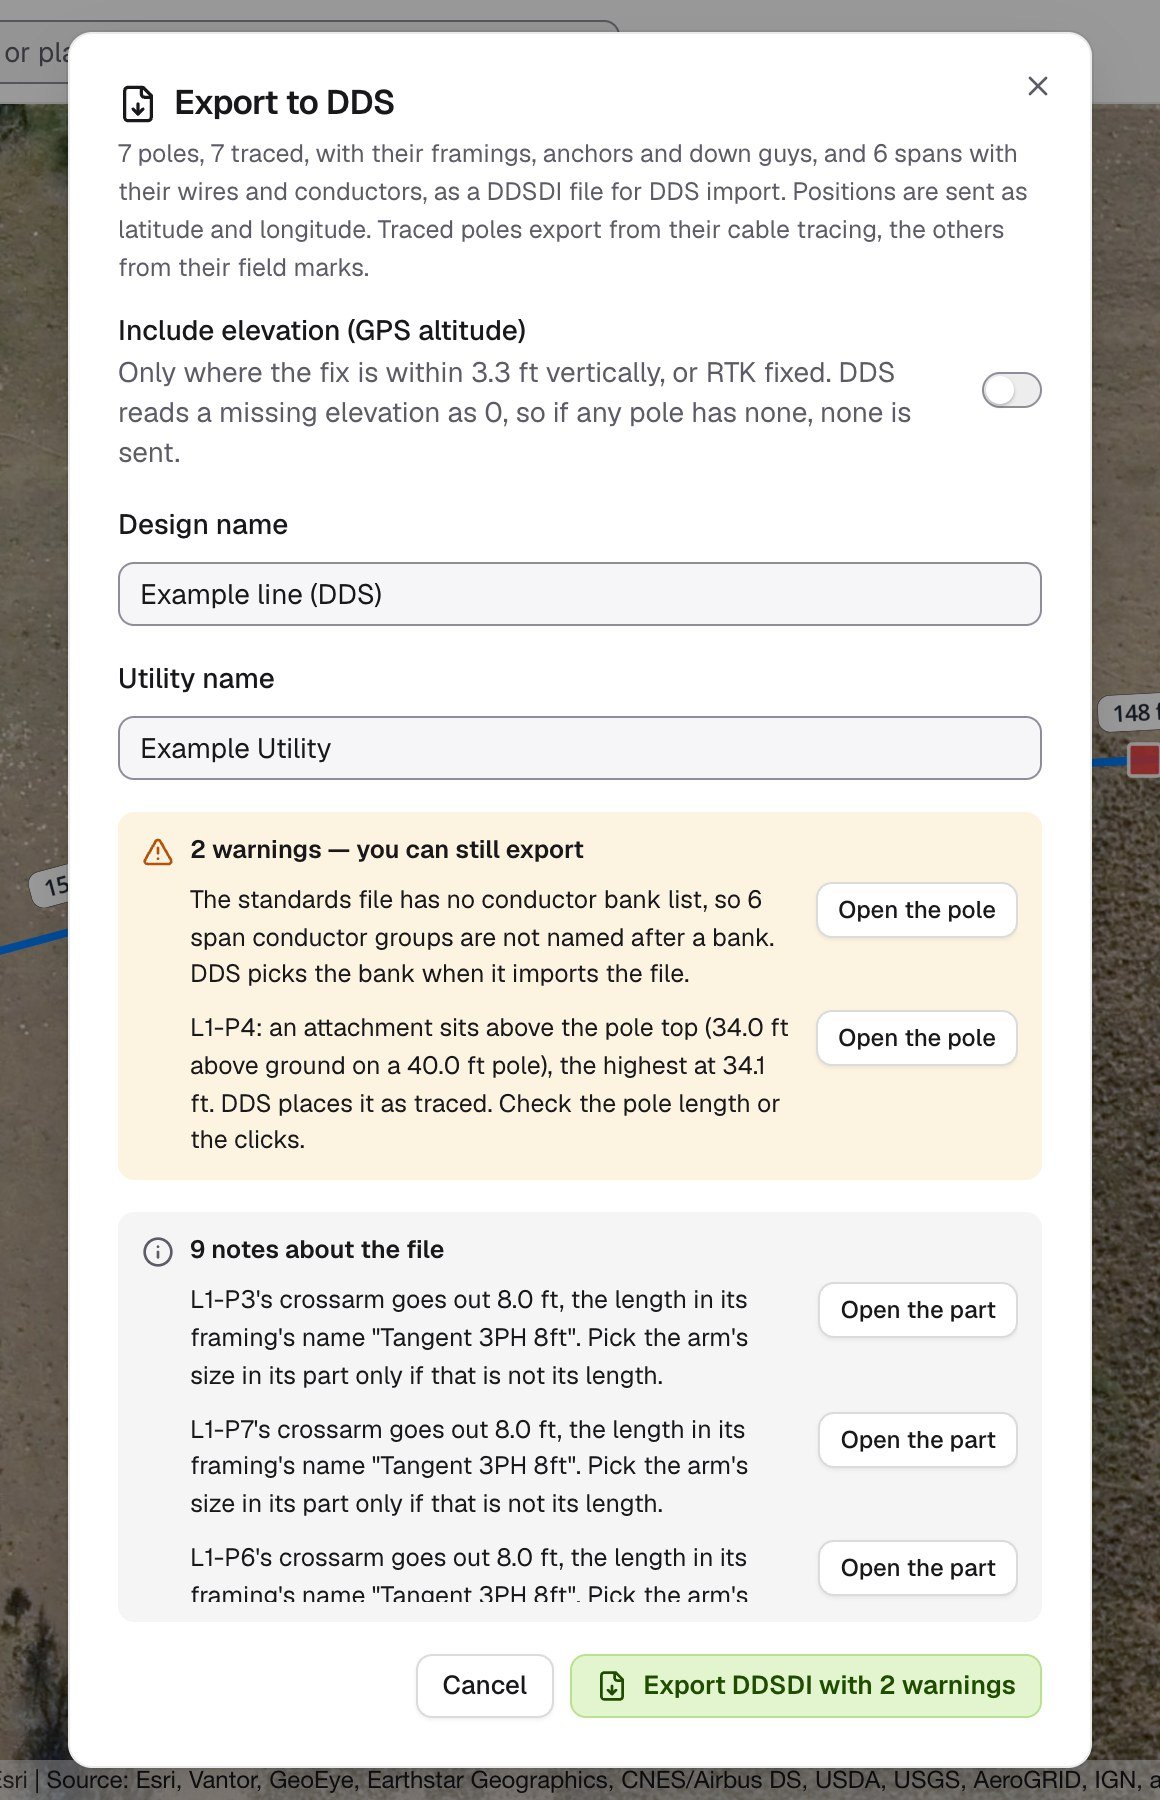
4
Download the file
Click Export DDSDI. If the file has warnings, the button shows how many. A 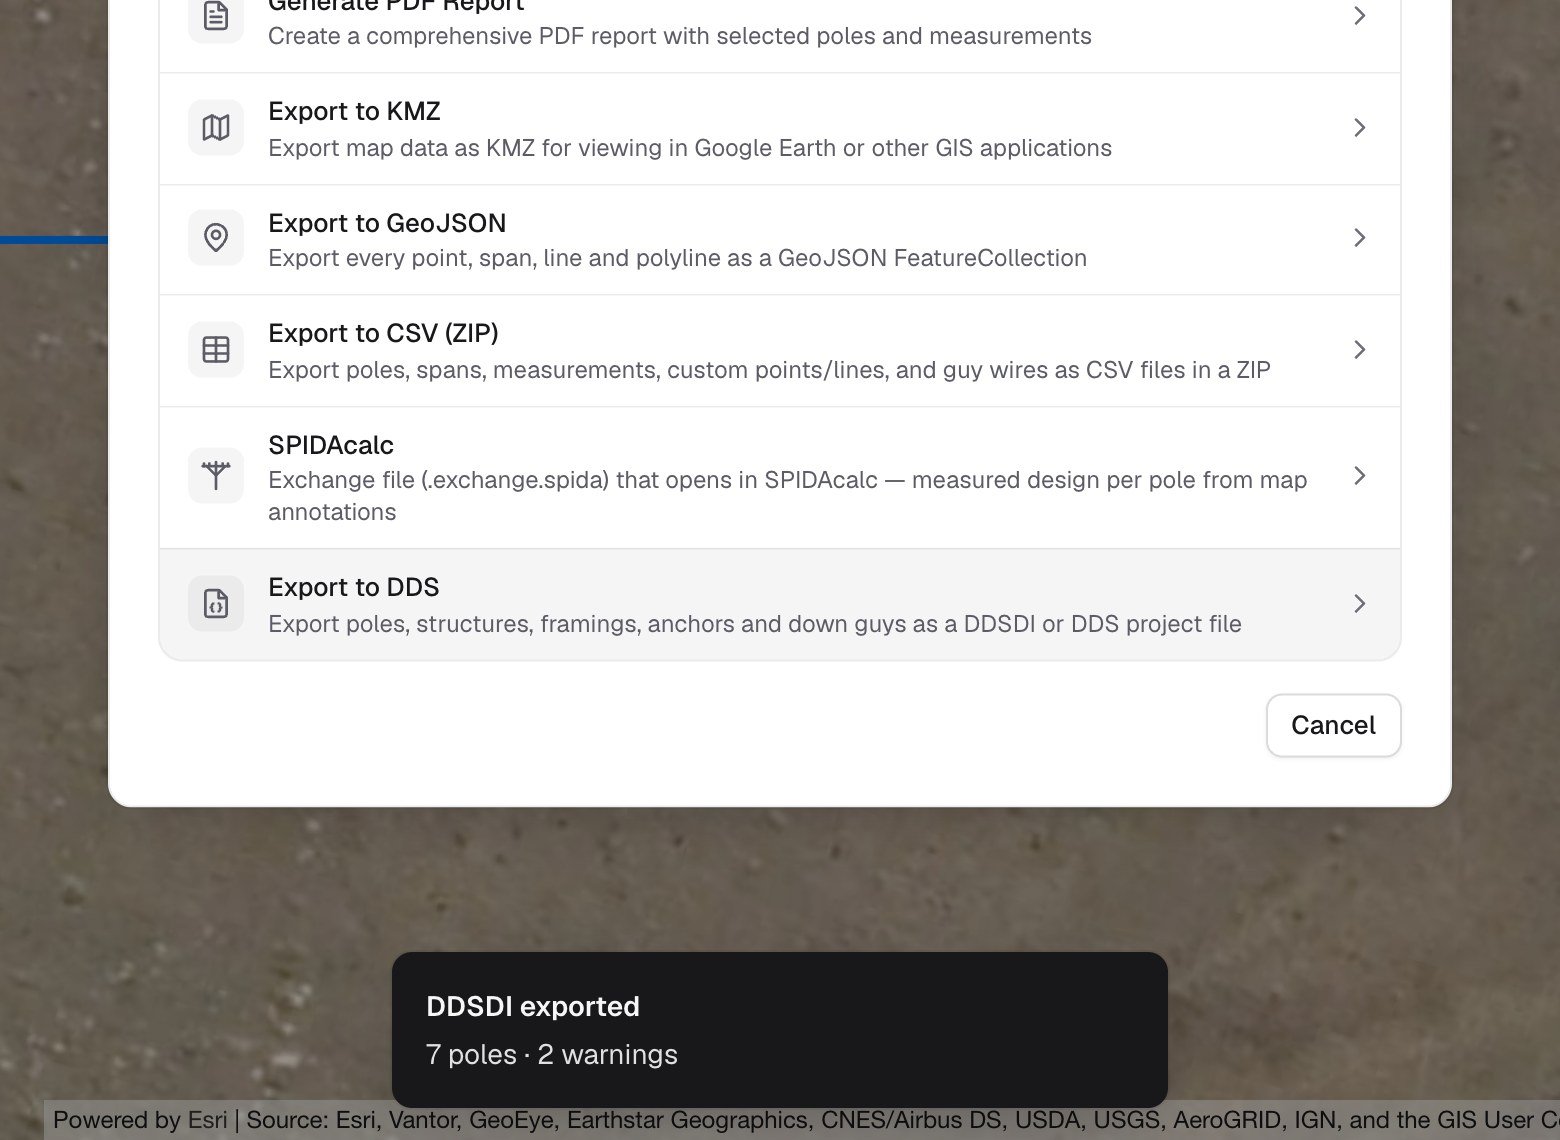
.ddsdi file downloads.5
Import the file into DDS
In DDS, load the same standards that the configuration was built from, and then import the
.ddsdi file as a design.Check the design in DDS
After the import, make sure that:- Every pole is there, with the right catalog pole and owner.
- Each framing appears on its pole. DDS uses the framing’s name to build its hardware.
- Conductors run from pole to pole in the positions you traced, with the status you set.
- Guy wires run to their anchors.
Common DDS warnings
The same rows appear in the Issues panel in Cable Tracing, ending with · DDS.Notes about the file
A note tells you how the file was written. You don’t need to act on a note unless this table says so.
For other problems, see Cable Tracing troubleshooting.